|
Teaching Kids To Ride |
|
One of the great memories of childhood is your first bicycle ride without training wheels. After many miscues, probably even a few scrapes, you finally pedal away from your parent’s grasp and take flight. Holding your breath and hanging on, you wobble down the sidewalk, building confidence and picking up speed. It’s exhilarating. You can hardly believe you did it. And you can’t wait to ride farther and faster.
That first ride is one of your biggest accomplishments as a kid and something you’ll never forget. Maybe that’s why, as a parent, you can’t wait for your children to learn to ride. Here are some tips to help.
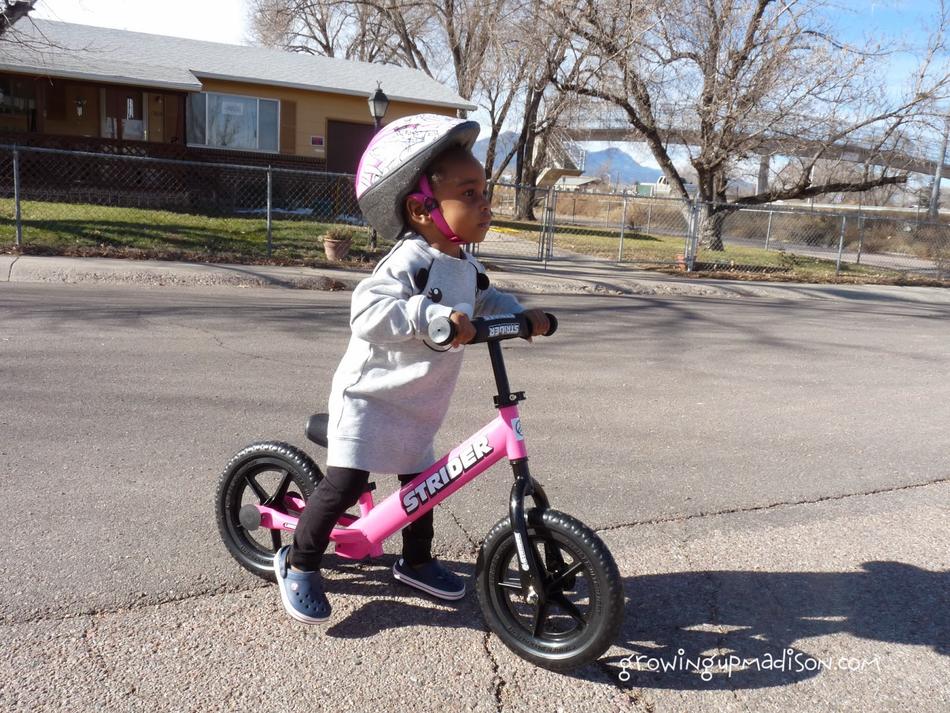
How Young Can They Start? Typically, children learn to ride between the ages of 3 and 7. How early and how fast they learn varies considerably. Kids who’ve owned tricycles sometimes take to bicycles more quickly because they already know how to steer and pedal. Yet, this can work against them, too. They may not want to move up to a two-wheeler because they’re so comfortable on their tricycle. Usually, they’ll change their mind as their friends start to ride two-wheelers because they don’t want to be left behind. In general we prefer Running or Balance Bikes over tricycles, they allow the child to feel in control and don't teach any bad habits.
In order to ride a bicycle, a child has to be able to sit on the seat and reach the ground comfortably with his feet. The smallest bicycles usually have 12-inch wheels and training wheels. These bikes accommodate children as young as 3 years old (of average size).
Next up in size is the 16-inch bike, which is also equipped with training wheels. It’s right for 5- to 6-year-olds of average size or smaller 7-year-olds. The next bigger bicycle has 20-inch wheels, but because these are taller and more tippy, they’re not ideal for training wheels, so it’s best for a child to learn to ride on a smaller model.
When looking for a “first bike,” keep in mind that children learn fastest on bikes they feel safe on, which are usually the smaller sizes. Of course, how fast they learn also has to do with their personality, coordination and confidence. For more information, check out our article on How to Buy Your Kid a Bike.
Safety First
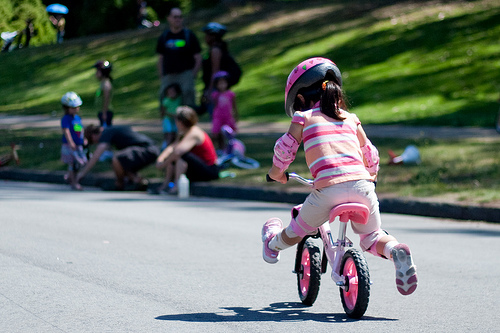
The most important cycling safety rule is always wearing a helmet, and it’s the first thing about bicycling to teach your child. Get them in the habit of putting on their helmet before riding so that the act is as natural as using the seatbelt in the car. Be sure to show them how to put the helmet on so that it sits squarely and snugly on their head. And, let them know how good it looks. If you aren't sure what size or how to adjust your child's helmet, stop by and let one of Lakeside Bicycles staff show you the ropes. If you’re riding with them, put your helmet on (never, Never, NEVER let your child see you riding without a helmet), too, to reinforce the message that all cyclists wear helmets.
It’s best to teach kids to ride where it’s completely safe (no traffic) and where there are few distractions. A sidewalk with grass on both sides, such as you’ll often find in a park or housing development, works nicely. Go there early before the crowds arrive, though, so you’re not dealing with skaters, dogs and other hazards. The good thing about a path like this is that if your child weaves off the cement, she’ll quickly stop on the soft grass. And, if she happens to fall, there’s a good chance that it’ll be a soft landing.
Pick a section that’s fairly straight and flat. While a little downward slope can help kids learn to pedal and balance, you definitely don’t want anything too steep because it’ll cause the bike to roll on its own, which is scary.
Check The Bike for Saftey and Adjustment
When you picked out the bike, we helped you make sure that you got model that fit your child. Now it’s time to make sure that the seat and handlebars are adjusted to fit correctly.
The seat height should allow the child to rest both feet comfortably on the ground. This lets them use their feet for control and confidence. So, don’t raise the seat too far. If the bike is equipped with training wheels, the seat can be slightly higher because the trainers will hold the bike upright. But, listen to your child if they tell you that it feels too high, and lower it until they’re comfortable.
The handlebars should be close enough to the child so that they can easily be reached. Otherwise, the action of steering the bike will pull them forward and off the seat, which could cause a loss of control. On most bikes, the bars can be raised and rotated to improve the fit.
It’s important to get these adjustments right so that your child feels comfortable and safe when learning to ride. If the seat’s too high or the bars are too far away, your child could lose control and fall over, which could give them a scare and slow the learning process. If you’re not sure how to adjust things, bring the bicycle and your child in and let us help. We don't care where you bought the bike.
Let Them Learn At Their Pace
To ride, children need to learn how to pedal and steer the bicycle. Depending on coordination, some kids learn these things fairly quickly. Others find it challenging and frustrating. The important thing is for you to be patient and keep it fun and safe. By the age of 7, most kids are ready to go, but every child is unique and it might take longer. I know two literal "Big Bang Theory" level super genius Rocket Scientist Mathematicians who didn't learn to ride until they were ten.
When you’re practicing with them, let your child decide when they have had enough and don’t push the issue. Ten minutes of trying at a time might be enough at first. If they don’t take to it right away, don’t worry. Just try to keep it fun and let them stop when they’ve had enough. Taking time away from the bike can help, too. Sometimes, they’ll be more determined than ever after a few days doing something else.
Keep in mind that one of the greatest motivators is peers who ride. When kids see their friends riding, it usually fires them up to figure out how it’s done so they can join the fun.
Pedaling, Steering And Balancing
We prefer to teach balancing by removing the pedals or starting with a Running or Balance bike. Balancing a bicycle is basically a matter of wobbling down the road making minor steering corrections to keep the wheels beneath you. If you remove the pedals and have your child use their feet as outriggers, touching down when necessary, you will probably find that they get the knack for steering to balance the bike more quickly. It’s easier to learn this on a very slight uphill so that the child has complete control over the bike's speed. Once they can hold their feet off the ground and coast comfortably, they’ll be ready for the pedals again.
If your childstarted out on a tricycle first, they’ll know how to pedal. If not, they’ll get the hang of it pretty quickly. Children's bicycles are usually equipped with “coaster brakes” (also known as “foot brakes”), which are operated by applying backward pressure on one pedal. So if the child mistakenly backpedals while trying to pedal forward, they’ll apply the brake, which feels strange at first. Just let them keep trying and they’ll figure out which way to pedal to go and to stop.
If you’re using training wheels, they must be adjusted correctly in order to get results. The wheels should be set so that the bike can lean a little before the wheels touch the ground. This helps kids get the feel of balancing the bike and leaning it to steer. It also ensures that the training wheels can’t lift the driving wheel off the ground on uneven surfaces.
s your child gets used to bicycling, you should gradually raise the training wheels so that he has the opportunity to lean and balance more. And in time, you should be able remove the training wheels.
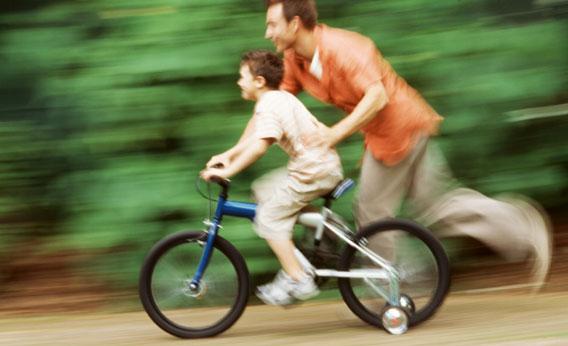
At this point, there are different things you can try. Walking/running along behind your child holding him up can work nicely. Don’t hold onto the handlebars because you want your child to get a feel for how steering affects balancing the bike. You can grab the back of the seat instead. Or, try holding onto Junior’s shoulders.
An alternative is to get a handle that attaches to the bicycle and lets you hold the bike upright from behind. This feels the same from the rider’s perspective, but is much easier on the pusher’s back. At least two companies make these inexpensive devices and they work well.

Now check out the following videos and don't hesitate to ask the people at Lakeside Bicycles for advice. Our hours are 10-7 W-F, 10-6 Sat and 12-5 Sun and our phone number is 503-699-8665. Good luck!
10 Year Old Brittany Teaches Your Child to Ride a Bike:
Step By Step Teaching Your Child to Ride a Bike:

